I have over 8 years experience with both digital and traditional drawing techniques.
I am well versed in many different drawing mediums and styles such as: ink, graphite, alcohol based markers, charcoal and digital drawing in Photoshop and Autodesk SketchBook
̌
Adobe Photoshop
11 x 18
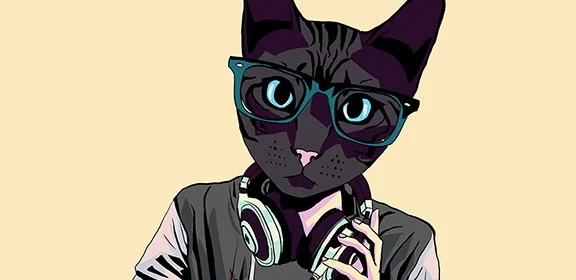
Central Ozark Conference Art Show 2017 Finalist
Digital illustration over manipulated photo
Adobe Photoshop
7 x 6
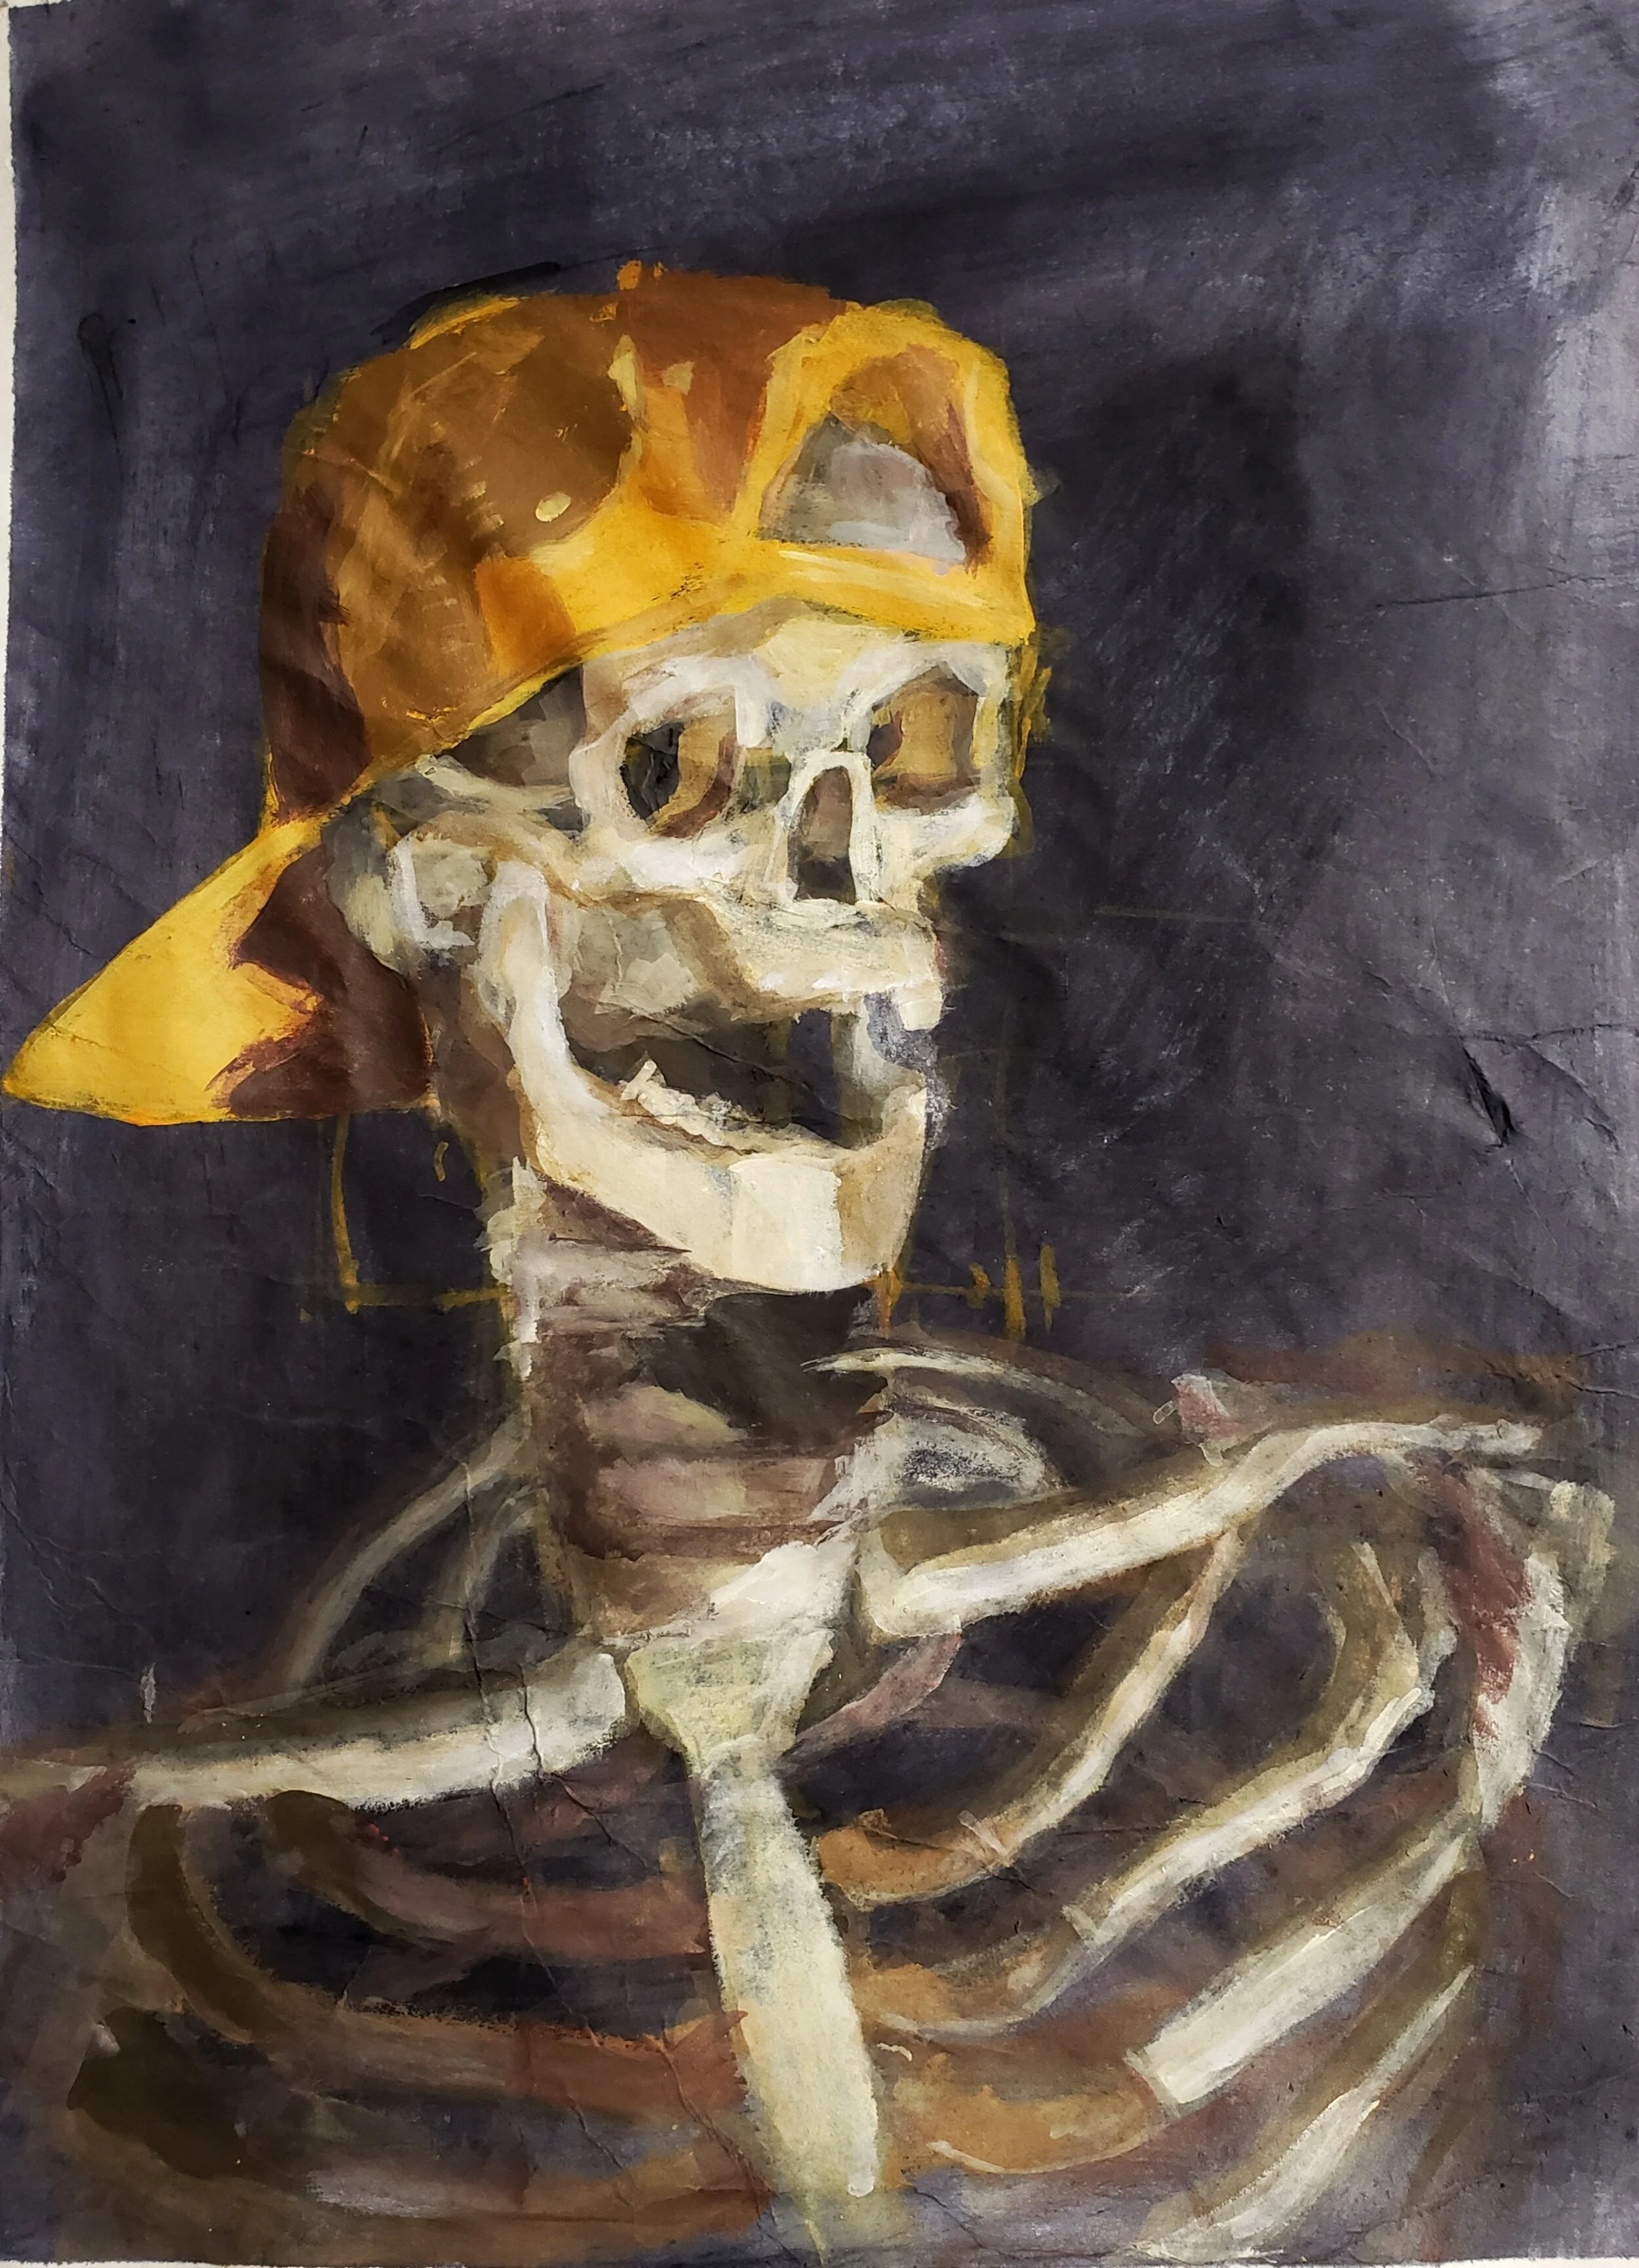
Charcoal and chalk on tinted paper
12 x 18
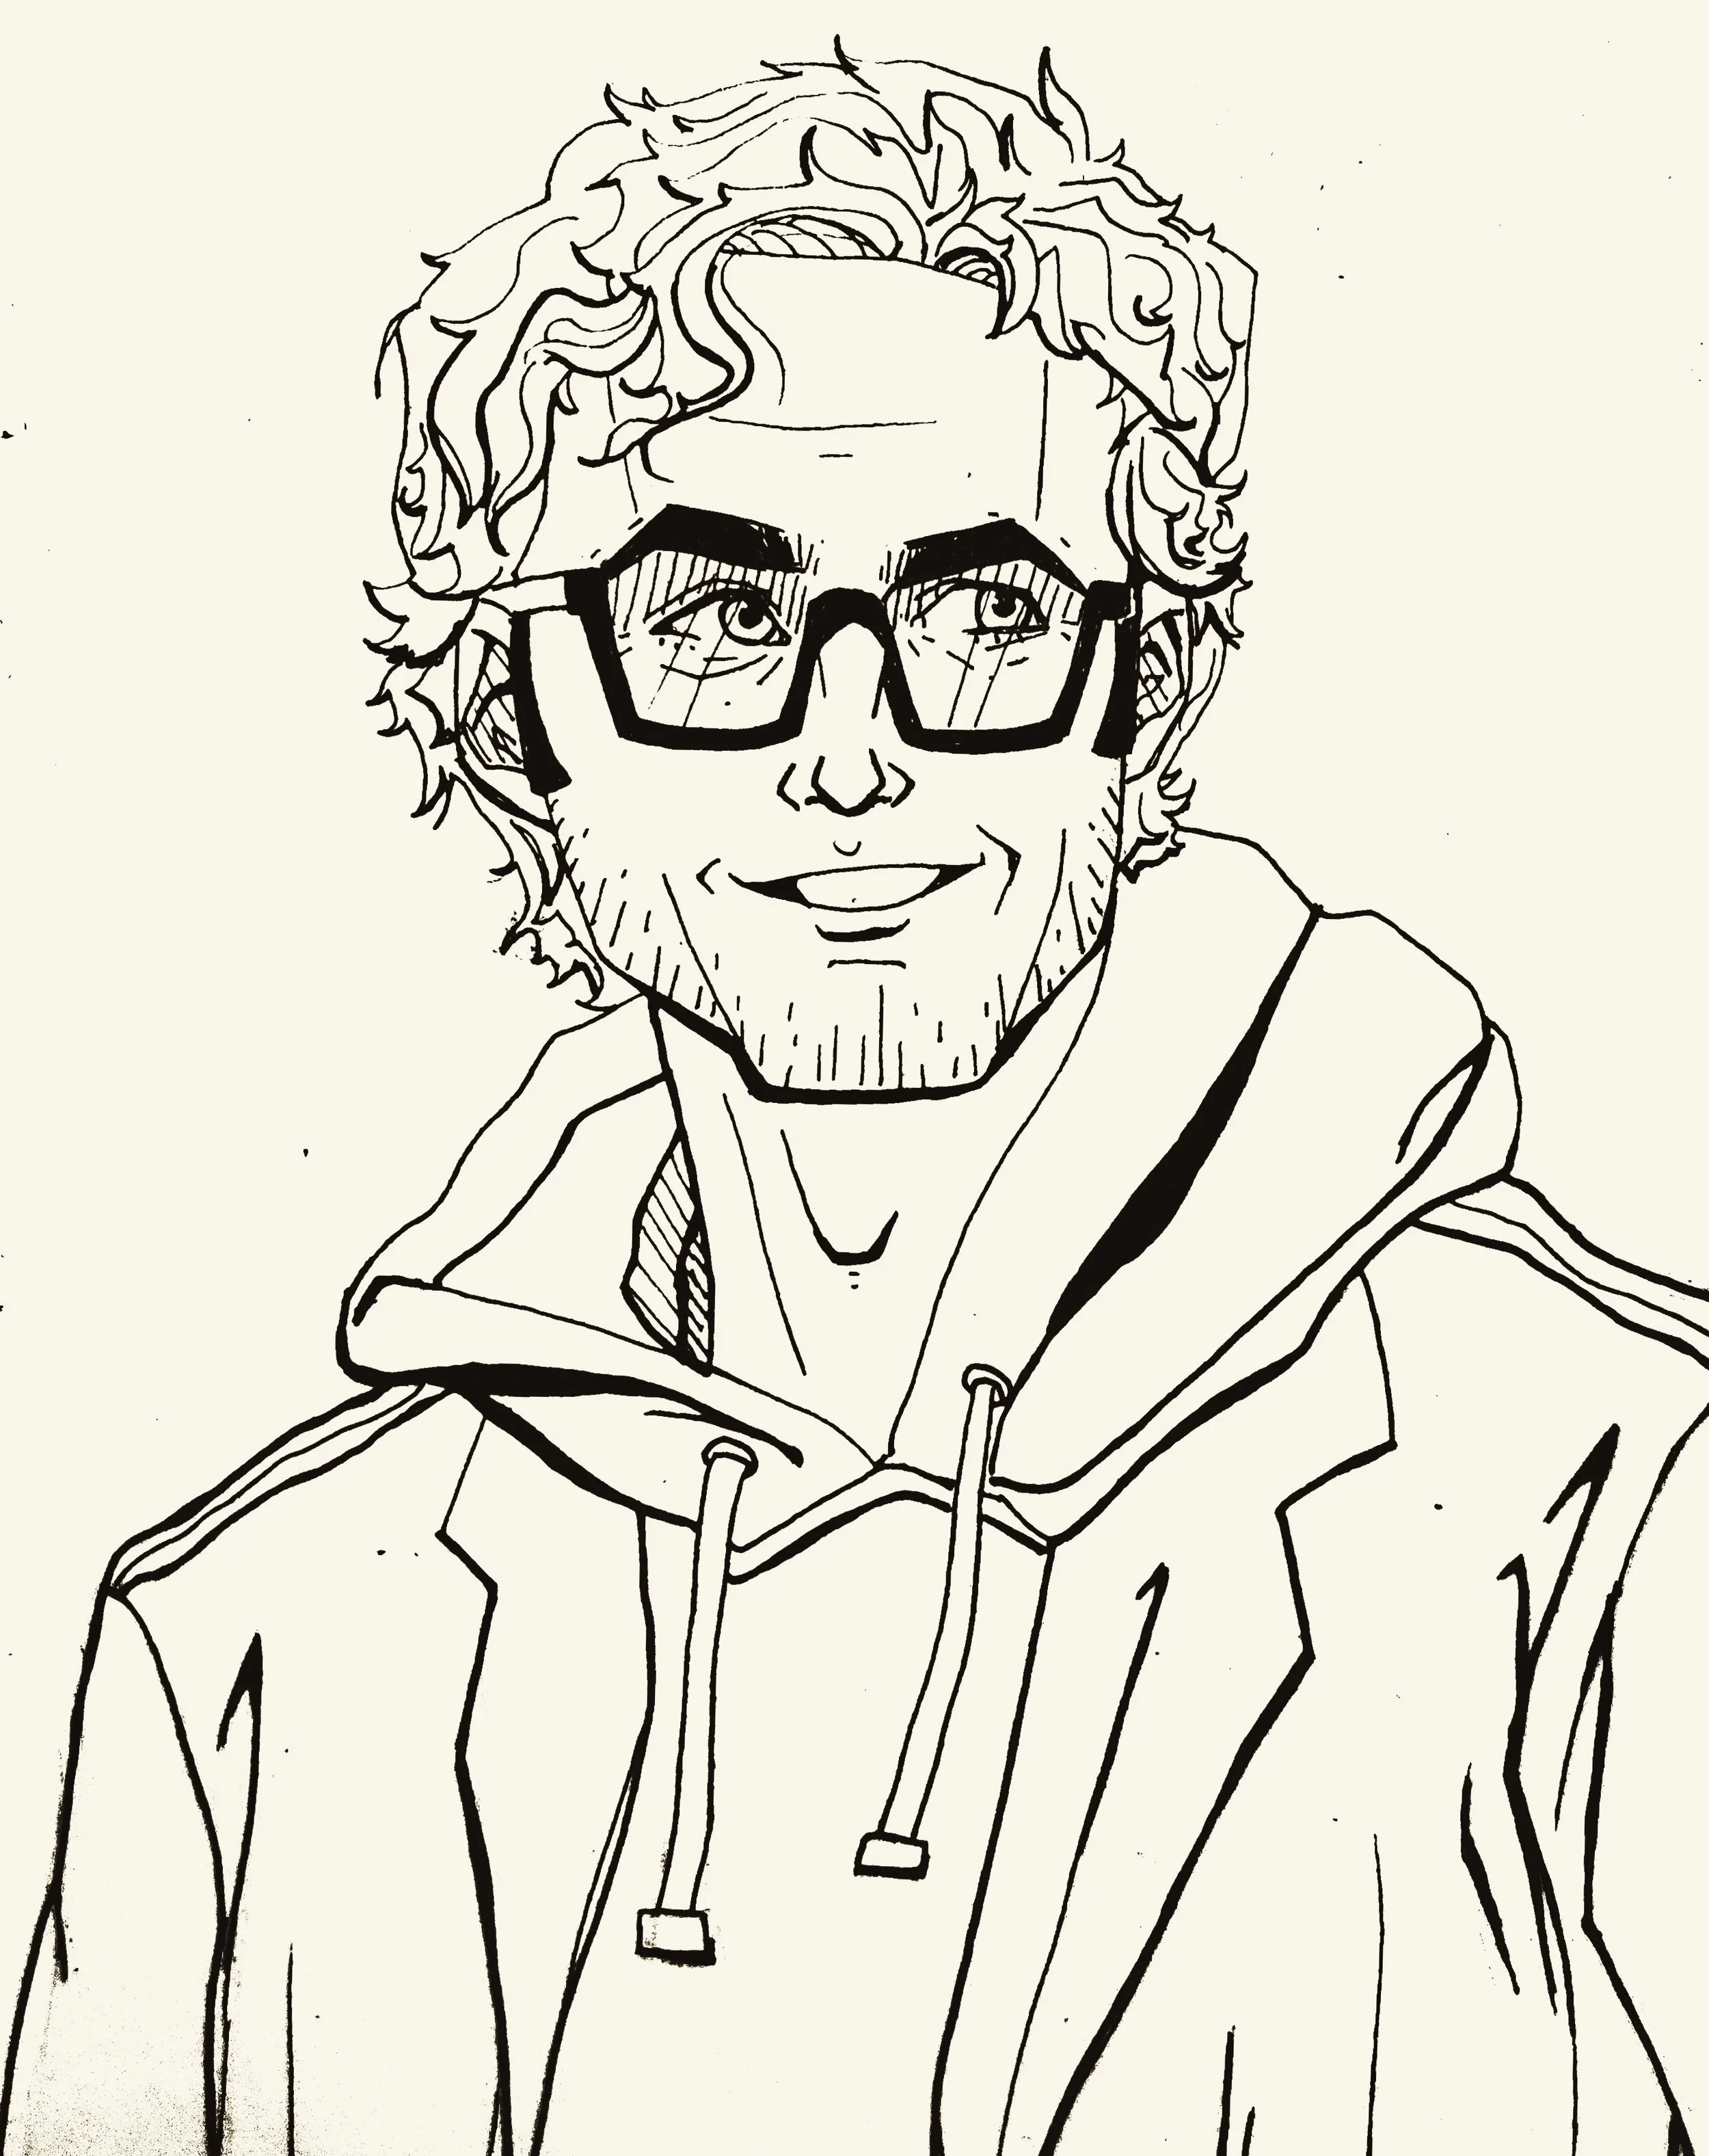
Ink on paper
9 x 6
Alcohol based marker and ink on paper
6 x 8
Illustration created for a client based on their in progress novel
Autodesk SketchBook
8 x 15
Theoretical design for a public sculpture
Ink and alcohol based marker on paper
6 x 18
Scenographic rendering of a layout of my freshman dorm room
Graphite on Bristol board
13 x 9
Working with clients or on personal projects I have created a wide variety of graphics from book covers to t-shirt designs
Programs: Adobe Photoshop, Adobe Illustrator, Clip Studio paint
T- shirt design for the Off Topic Podcast done as a fan work
Adobe Photoshop
Logo I was commissioned for to be used for a client’s robotics firm and newly created software
Adobe Illustrator
Simple book cover graphic I made for a client’s academic text book
Clip Studio Paint
T-shirt design inspired by a song by Gorillaz
Clip Studio Paint
I have experience in applying techniques researched from other artist to recreate their work and replicate their process, render stilives as well as creating stylized portraits
A painting study of Thiebaud painting, Ripley Street Ridge (1972)
I researched Thiebaud's painting process and studied the way he renders and applied paint to the original Ripley Street Ridge to not just recreat the finished product of the painting but also his artistic progress
Acrylic on canvas
28x20
Still life
Acrylic on paper done within a 3 hour time limit
18 x 20
Stylized selp portrait inspired by Chuck Close's work
Gouche pain on Bristol board
18 × 20
Stilife
Acrylic on paper created within a 1 hour time limit
15 x 18
Stillife
Acrylic on paper painted within a 2 hour time limit
15 x 18
I have experience creating three dimensional real world recreations of costumes worn by character in pre-existing media as well as constructing pieces designed by myself.
My skills in this area include: Pattern making, tailoring, sewing, textile pigmentation, hand painting, draping and hat making
An original magic user’s hat designed and patterned for an upcoming project. Constructed using; medium gauge wire, heavy-weight interfacing (to give structure and shape), ribbon, felt and, decorative fabrics
I (lower right) patterned and stitched all elements of this costume myself (save for the boots and undershirt) using both knit fabric and cotton fabrics.
Photography credit: Kiet Lee
I dyed the darker brown parts of the jacket with fabric dye and acrylic paint as well as hand painting the symbols able to be seen on the left side of the yellow undershirt and on the left panel of the skirt
In addition, I built the gauntlets from EVA foam and styled the wig. More information on the gauntlets can be found on my Hard Medium Fabrication page.
The real struggle here was creating the puffed sleeves on the jacket and having them bloom out like the character model shows. I was not using a pre made pattern for either so it was a struggle to get them just right
One of the two fire-heart emblems I hand painted using acrylic paint for this costume
Mock up I did for a piece I helped collaborate on for a production of Lysistrata I assisted on with a team of 4 technicians and 2 designers
For this costume my main area of focus was the skirt. I used an altered pre-made pattern to construct the skirt base after I distressed and pigmented the teal fabric I purchased with black tea and black fabric dye. The shirt is an appropriated dress shirt which I tailored and sewed new cuffs and a collar for. For this costume I also styled the wig, fabricated my own props and accessories
Here you can better see the taloring and alteration I made to the shirt as well as the tie I made
Here is the skirt very nearly done and ready to have the dark blue straps stitched on
I have a wide variety of carpentry and fabrication skills I have used on numerous projects ranging from sculpture to prop making.
My skill set includes: Carpentry, soft medium sculpting, foam-working, paint application, electrical, life casting, pattern making, 3D design and silicone mold making and resin casting
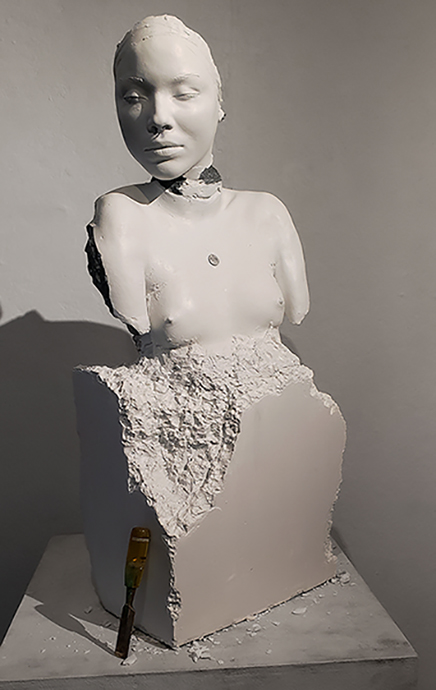
This piece uses a combination of foam work, life casting and plaster work to create the effect of a chiseled marble sculpture from the front but reveled to be sculpted and painted plaster from the back.
I cast the face, pendant and torso using a live model and alienate. I then filled those alienate molds with casting plaster, cleaned up the results before attaching them to each other with more plaster. After that I fixed the life casts to a polystyrene base I had constructed and carved to resemble chipped marble. To give the two elements a more seamless fusion I added more plaster to the seam where they met and molded the mostly set plaster with a chisel to mimic the chipped effect I had given the polystyrene beneath it. Finally I painted the front of the sculpture with white latex based paint on the front and silver spray paint on the back in addition to on the jewelry.
One of two identical pieces fabricated for a production of Lysistrata. Using a variety of reference materials I designed and patterned these pieces.
The base is simple white craft foam tinted with 2 colors of shoe polish to mimic leather and further shaded with black acrylic paint using airbrush and blackwash sealed with Modle Magic
The strap was created using an old leather belt I re-toned to match the shoulder plate. The rivets are google eyes I painted bronze and gold to appear to be made of metal. I also stitched a decorative chain over the curve of the plate for added detail
For this sculpture I created two illuminated signs using 1/8 in plywood and acrylic sheeting painted with glass and acrylic paint
I wired both signs with a parallel circuit using standard 660 watt light bulb sockets and bulbs. The mouth sign is also equipped with a flip toggle switch so the viewer switch the sign on and off making this an interactive piece
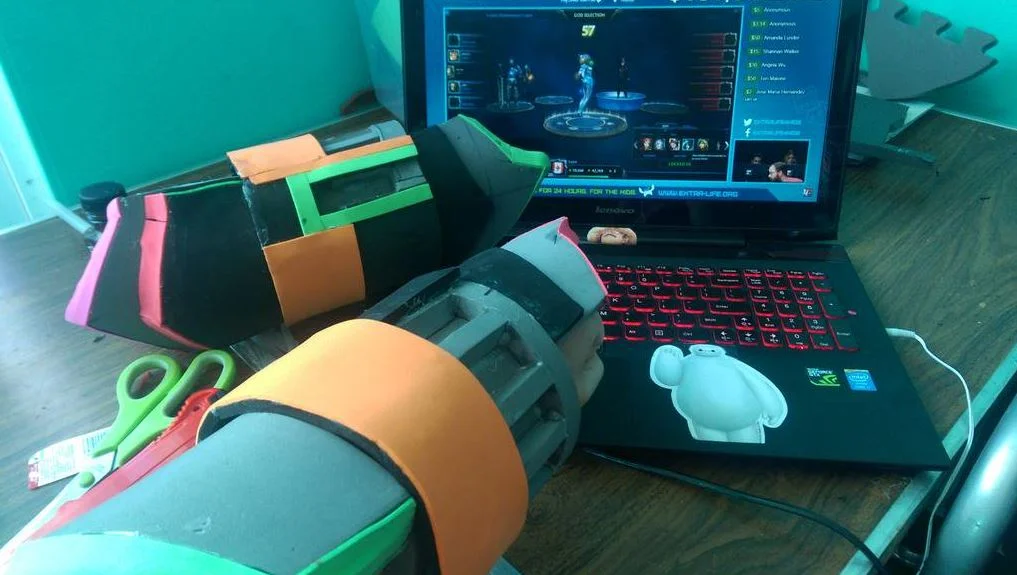
I constructed these pieces I used a mix EVA foam and thin craft foam I formed using a heat gun for the gauntlets themselves and created the red shells using wine corks.
I used reference material from the show the character this costume is based on to create my own pattern to work off of
After I had made my pattern and cut the necessary pieces out of foam I fused them together using hot glue and contact cement before coating the now constructed gauntlets in Plasti-Dip to seal the pores of the foam. Then, I airbrushed them with a yellow latex based paint.( I chose a latex based paint to allow for some bending that the foam would experience without cracks in the paint appearing.) Finally I added the line work using black electrical tape, painted the shells and barrel with acrylic paint and attached all together.
Photo Credit: Keit Lee
Nearly complete unpainted gauntlet bases. Grey foam being EVA foam and the other colors being craft foam